

Note: This article covers the Build Wizard, which creates and imports a bare-metal virtual machine (VM). (ESX and Hyper-V VMs must be manually created without SmartDeploy.) If you already have a VM or if you are familiar with the virtualization application that you're using and you want to create a VM by using the virtualization application console, you can skip this article. In either case, we recommend that you read the Best Practices to Create Your Reference Virtual Machines article before you continue.
Create a Reference Virtual Machine by Using the SmartDeploy Console
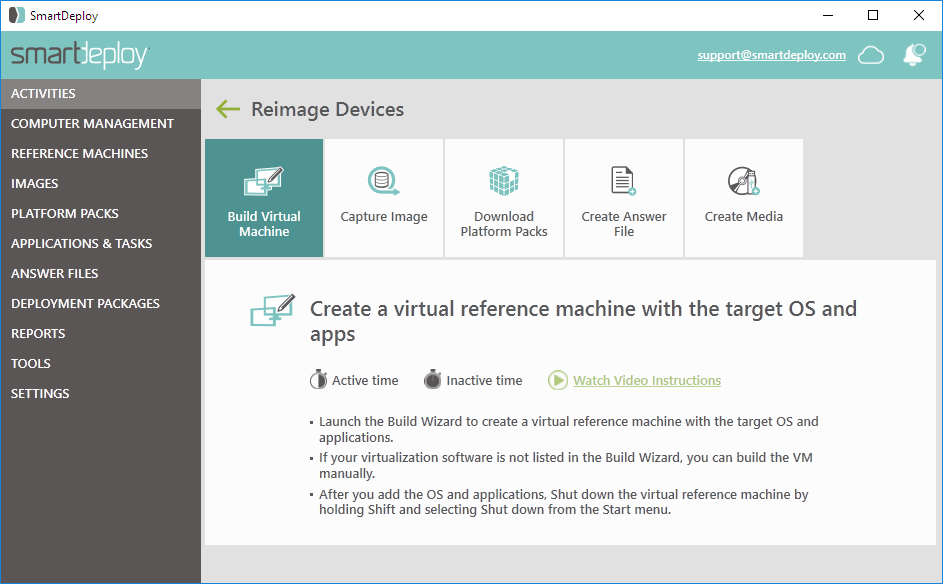
- In the Activities workspace of the SmartDeploy Console, click Reimage Devices, and then click Build Virtual Machine.
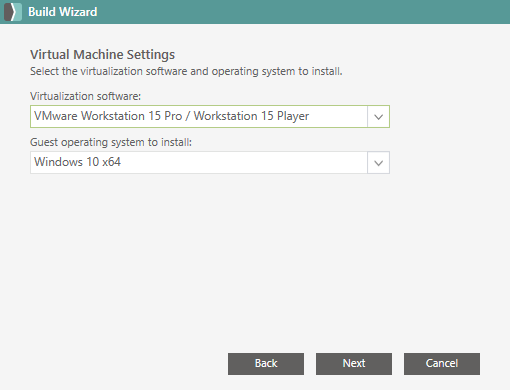
- On the Welcome screen, click Next, select your preferred virtualization software and the guest operating system that you plan to install, and then click Next.
- Assign a name to the new VM, chose a location to save it, and then click Next.
Note: The default location is C:\SmartDeploy\Reference Machines\. But, it's not required to save your VM in that location. If disk space is a potential issue, you may save the VM to a different drive.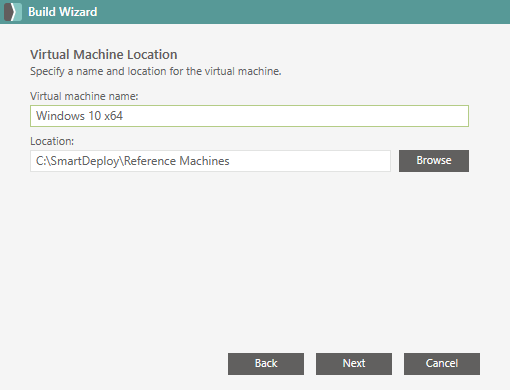
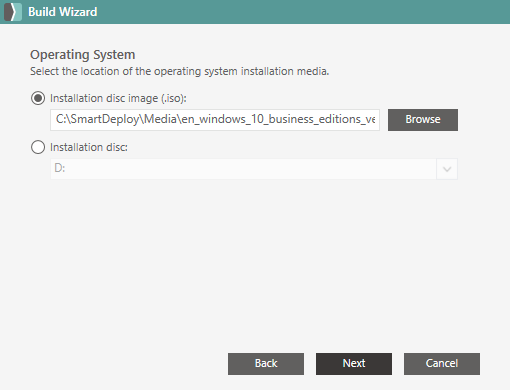
- Click Browse to select the Windows installation ISO file, or select the drive that contains the Windows installation disc, and then click Next.
- After the Build Wizard finishes, switch to your virtualization software.
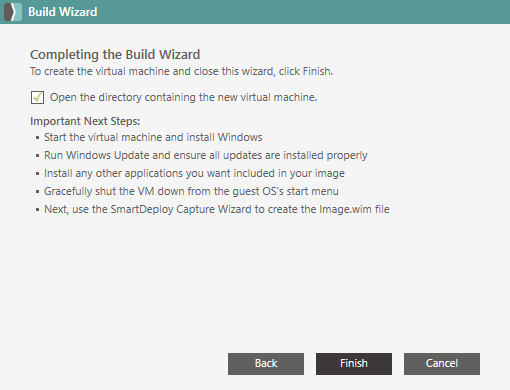
- Connect to and start the VM, booting to the installation media to install Windows.
- Complete your OS and application configuration as required for your desired image.

Next: Capture an Image