

These steps guide you through creating a Deployment Package for use with console-initiated deployments. For a detailed walkthrough, see the Console-Initiated Deployment article.
Create a Deployment Package
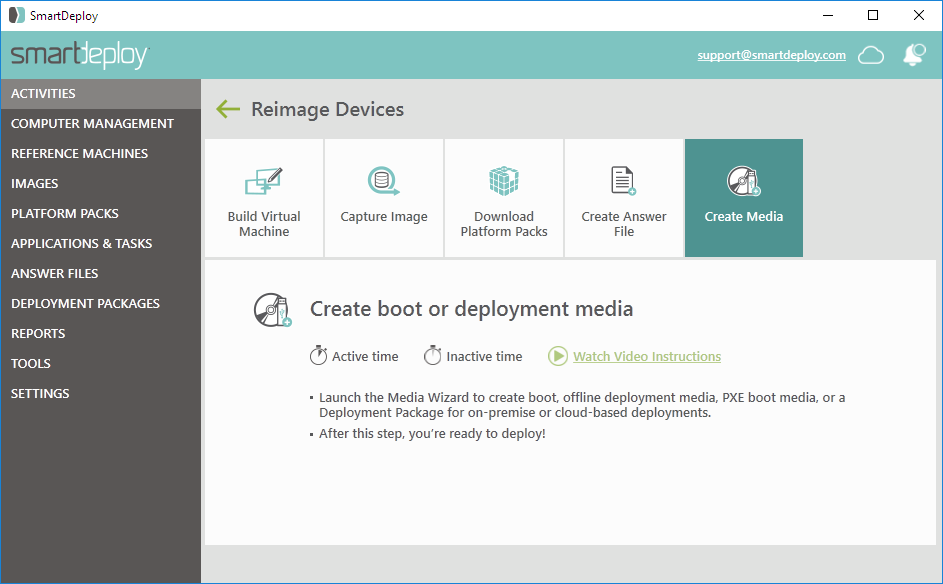
- In the Activities workspace of the SmartDeploy Console, click Reimage Devices, and then click Create Media.
- On the Welcome to the Media Wizard page, click Next.
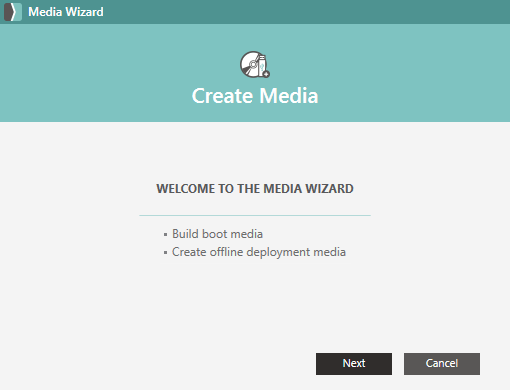
- Click Deployment package, and then click Next.

- Select the Platform Packs for any model and OS to which you plan to deploy, and then click Next.
Note: By default, all Platform Packs will be selected. It's important to leave selected the Platform Pack for any model that you may deploy to.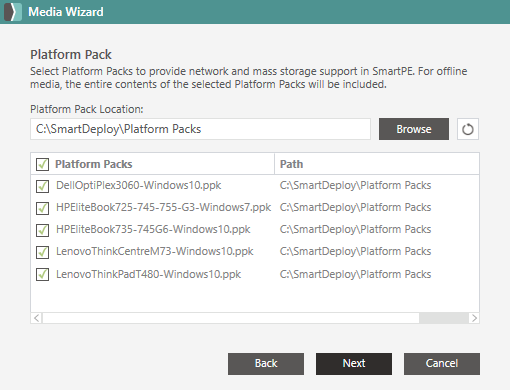
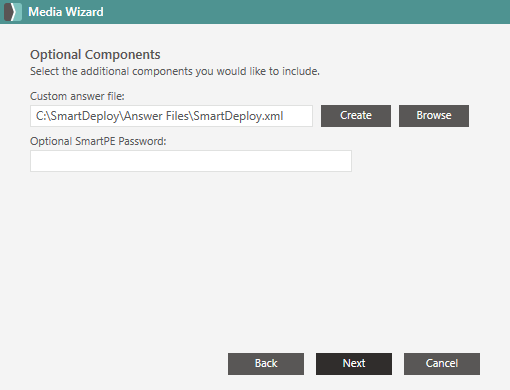
- For Custom answer file, click Browse, and then browse to and select the answer file that you previously created.
Note: The Media Wizard will automatically detect when you select a Cloud-Connected Answer File and will upload the Deployment Package to your cloud storage provider when the wizard completes. - (Optional) In Optional SmartPE Password, specify a password to prevent SmartDeploy from starting and deploying an image by an unauthorized user, and then click Next.
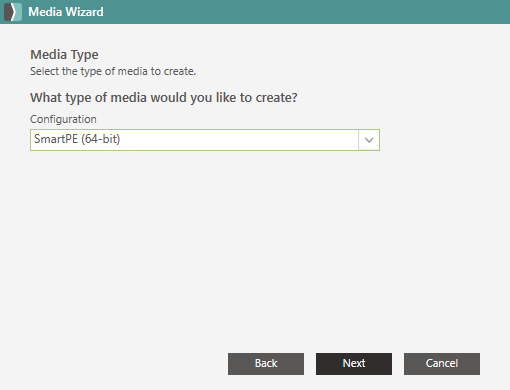
- On the Media Type page, select your preferred architecture for the boot image, and then click Next.
- On the Package Name page, chose a name for the Deployment Package, and then click Next.

- Click Finish to create the boot image.

- After the Deployment Package is successfully created, click OK to close the Media Wizard.

Next: Start a Console-Initiated Deployment