

This article is about the process of backing up and restoring user data from the Computer Management view in the SmartDeploy Console. Through this process, it is possible to back up user data from one endpoint and restore it to another, as long as both endpoints have the SmartDeploy Client installed, and have a healthy connection to the SmartDeploy console.
It is also possible to back up and restore user data from the same computer during a reimaging operation (OS refresh scenario). See Step 11 in Create an Answer File for details.
Start the User State Capture
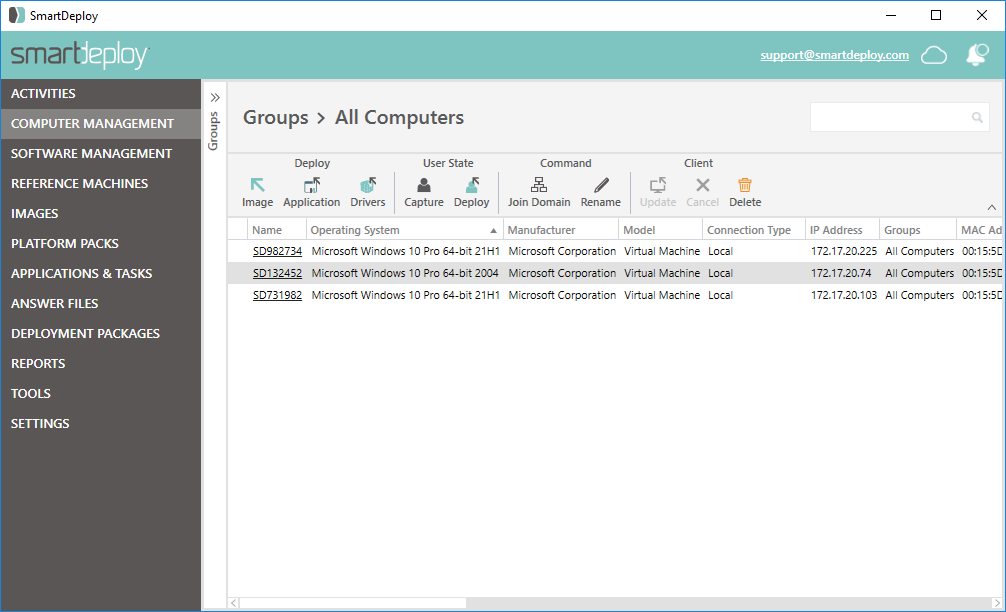
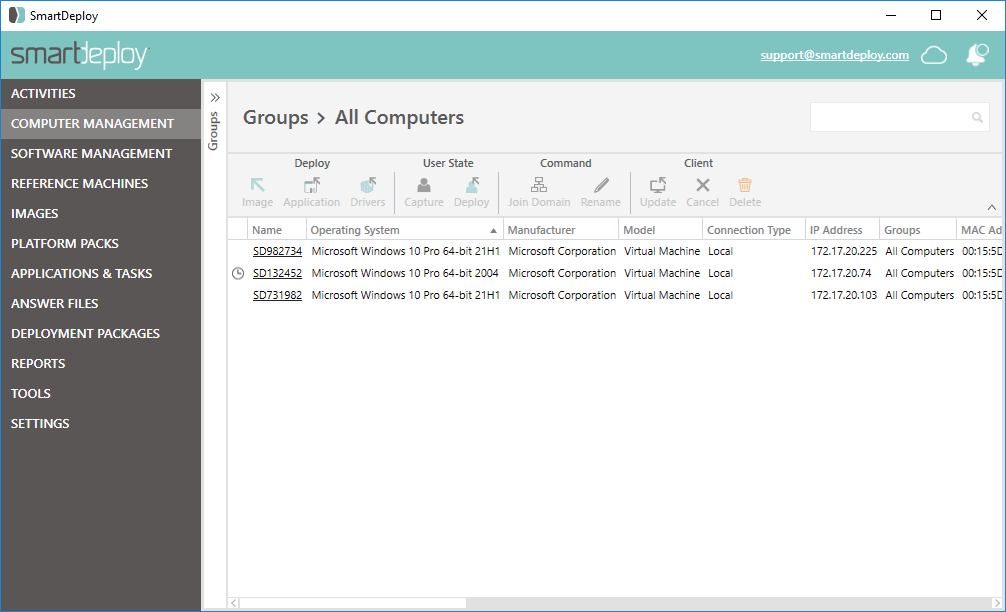
- In the Computer Management workspace of the SmartDeploy Console, identify the computer that you want to capture user files from.
Note: Clients that appear in the Computer Management workspace in a gray or faded text indicate that the device is off or there's another issue preventing a full connection between the console host and client. User state captures and deployments won't work when clients are in this state. Please see the Advanced Configuration and Troubleshooting section for more information. - Click to select the target client, and then click User State | Capture.

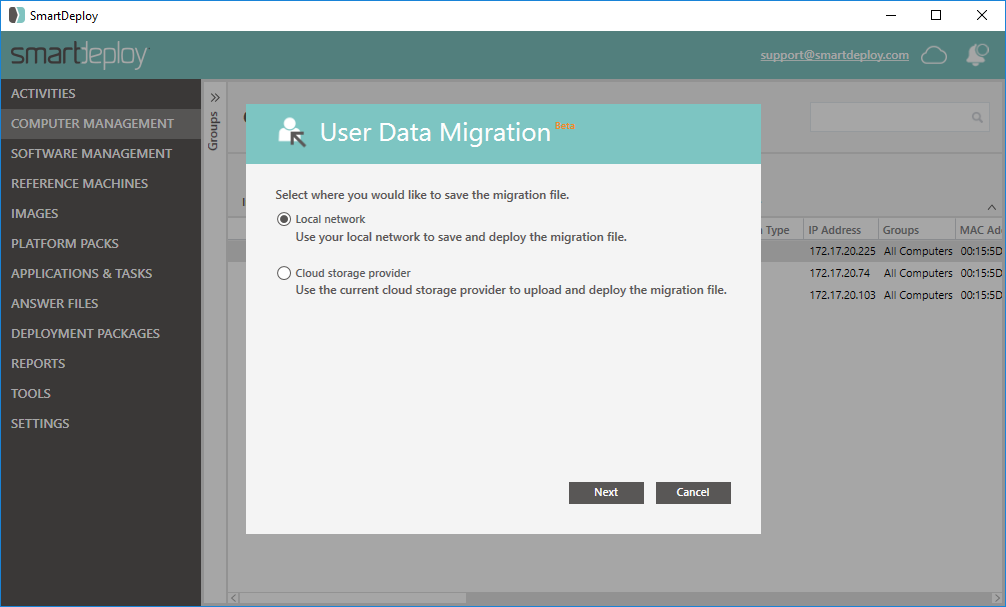
- Click Local network or Cloud storage provider, and then click Next.
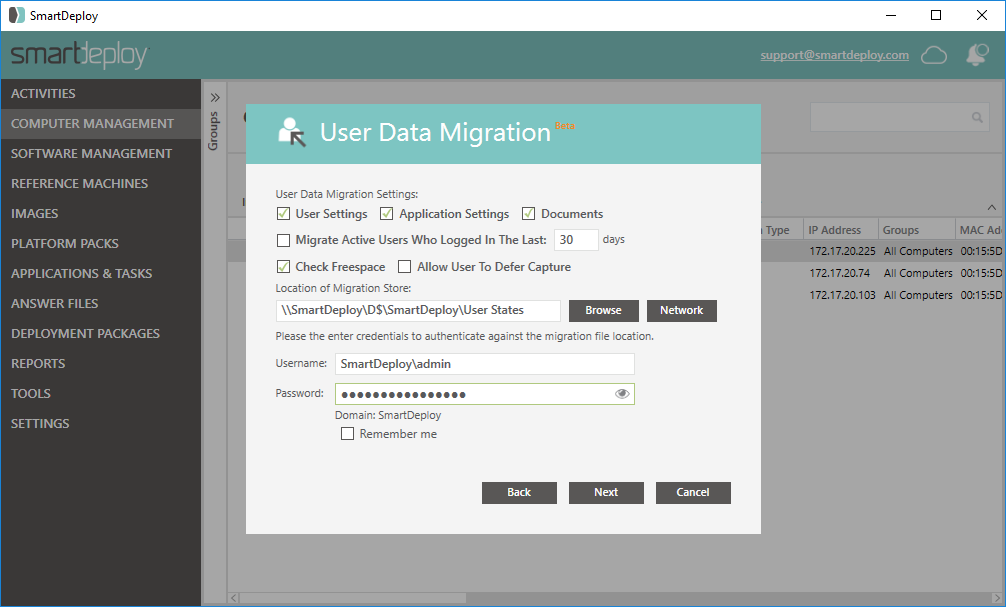
- Click the check boxes for the various settings and files that you want migrated.
- In Location of Migration Store, specify a local network share for the user state package to be copied to.
Note: The user state package is first copied to the local network file share provided and then copied to your cloud storage provider. - Provide the user name and password of an account that has access to the local network share that you specified, and then click Next.
- If the target computer is ready, has had the SmartDeploy Client installed, and is present in the SmartDeploy Console, click the Deploy the migration file after capture check box, and then select the target client to have the user files automatically deployed after capture.
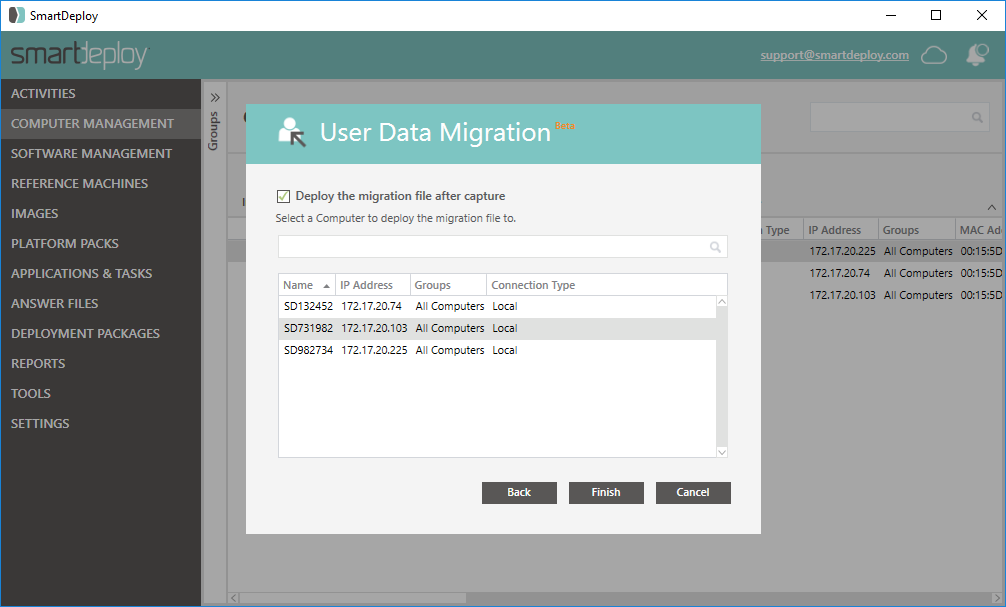
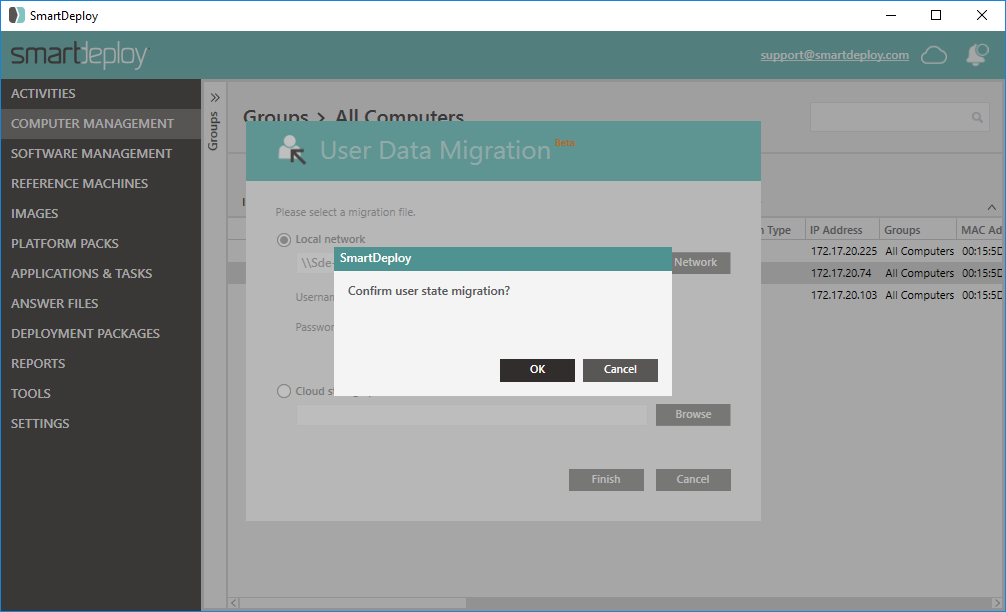
- Click Finish, and then click OK to capture the user state.

- The icon will update when the user state capture has started.

Deploy the User State
- In the Computer Management workspace of the SmartDeploy Console, identify the computer that you want to deploy the user state to.
Note: Clients that appear in the Computer Management workspace in a gray or faded text indicate that the device is off or there's another issue preventing a full connection between the console host and client. User state captures and deployments won't work when clients are in this state. Please see the Advanced Configuration and Troubleshooting section for more information. - Click to select the target client, and then click User State | Deploy.
- Click Browse, browse to and select the .mig file that was created when the user state capture process finished, and then click Open.

- Click Next, and then click OK to confirm deployment of the user state.
- The icon will update when the user state capture has started.
Next: Deploy an Application Pack