
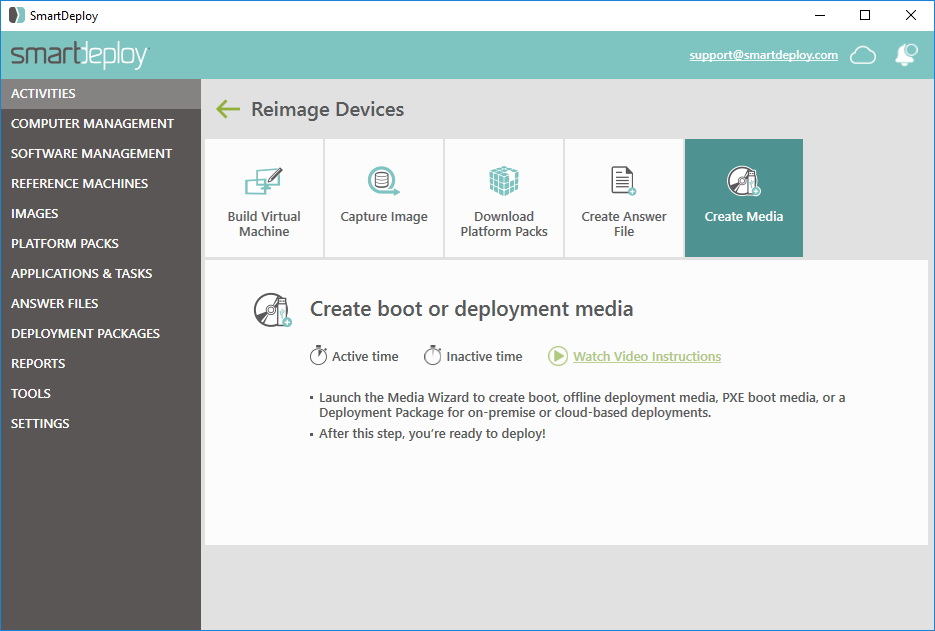
- In the Activities workspace of the SmartDeploy Console, click Reimage Devices, and then click Create Media.
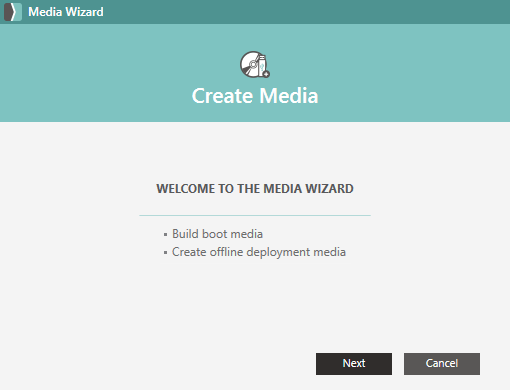
- On the Welcome to the Media Wizard page, click Next.
- Select Boot media or Offline deployment media, and then click Next.
Note: If you intend to access your image, Platform Packs, and Application Packs through the network as specified in your answer file, select Boot media. If you want to deploy to a device without network access, select Offline deployment media.
See: What is Boot or Deployment Media?
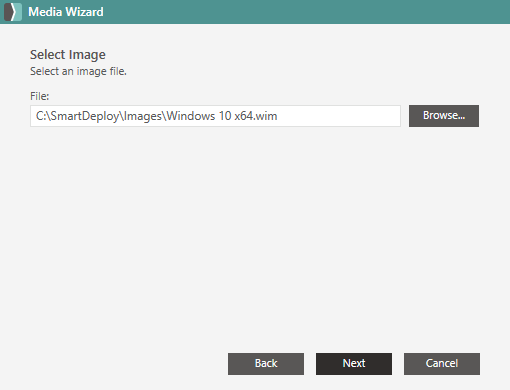
- If you are creating offline deployment media, click Browse to browse to and select your image (.wim) file, click Open, and then click Next.
- Select the Platform Packs for any model and OS to which you plan to deploy, and then click Next.
Note: By default, all Platform Packs will be selected on this page. It's important to include a Platform Pack for any model that you plan to deploy to.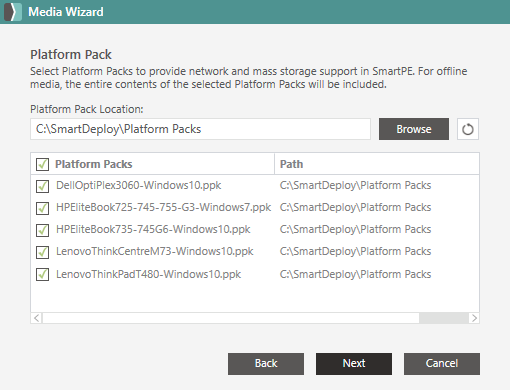
- On the Answer Files page, select all answer files that you wish to include.
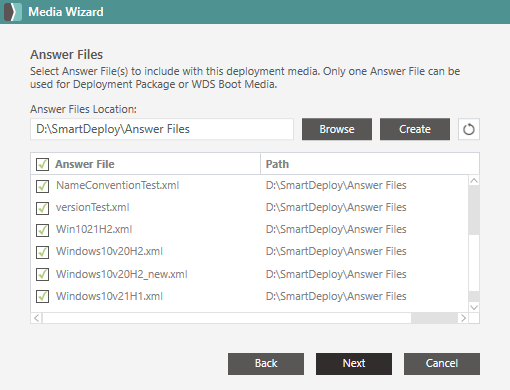
Support for multiple answer files is available in SmartDeploy v3.0.1030 or newer, for USB and ISO media types only.
Note: If you are creating offline deployment media, you will be asked whether you wish to update the answer file so that it uses the selected image (on the USB stick itself). Click Yes and the answer file will be updated automatically to point to the image that you selected in Step 4.
If you are creating offline deployment media and you select multiple answer files, then you will be asked if you would like to utilize the images that are associated with all specified answer files. If you click Yes, then the answer files will be edited and all selected images will be added to your offline deployment media.
Click No and the answer file(s) will remain unchanged, and may still point to an image located on a UNC path on your network. - On the Optional Components page, you may set the following options:
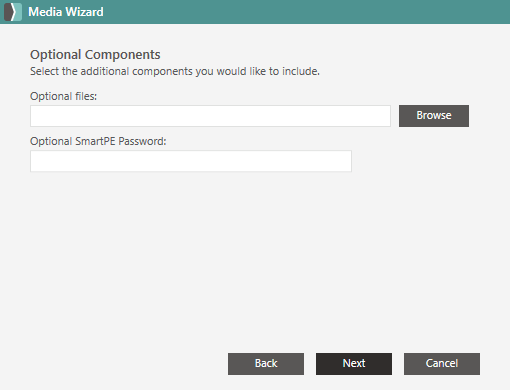 Click Browse to select a folder of that contains the files that you want copied to your USB drive. The files that you select will appear in the z folder on the USB drive.
In the Optional SmartPE Password text box, specify a password to which must be entered upon booting into SmartPE in order for deployment to proceed.
- Click Next.
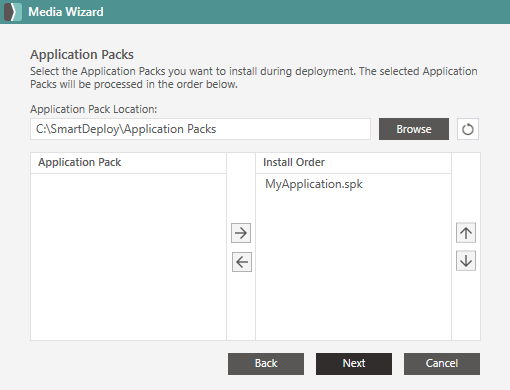
- If you are creating offline deployment media, select any Application Packs that you've downloaded or created, click the right arrow to include them in the deployment, place them in your desired order, click Next, and then click Yes to confirm. Note: See Application Packs for more detail.
- On the Media Type page, select DVD/ISO, and select the desired ISO size and file format.
Note: 2TB ISO files can be created using SmartDeploy 3.0.1030 or newer.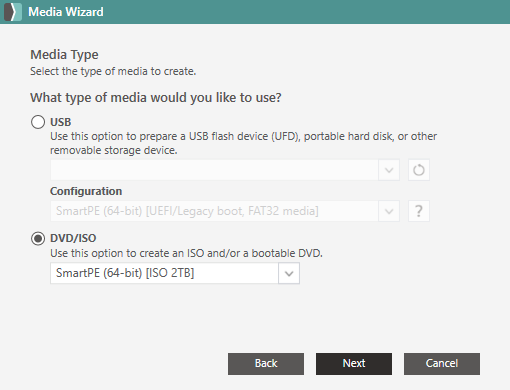
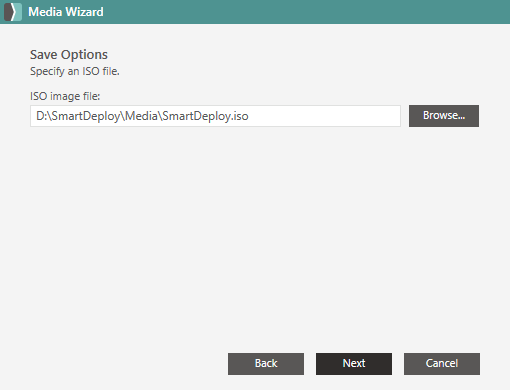
- On the Save Options page, choose a location to save the ISO file, and then click Next.
- Click Finish to complete the Media Wizard and create the boot media.
- After the Media Wizard finishes, you will be asked if you wish to create additional USB media - you may insert a new USB drive and click Yes to create additional media, or click No and then OK to close the Media Wizard.
